The following steps guide you through the ArcGIS Enterprise Builder installation process on one machine.
Prepare ArcGIS Enterprise Builder for installation
The following steps prepare the builder to install software:
- Obtain an authorization file for the machine on which you're installing ArcGIS Enterprise Builder.
- Verify that your site meets the system requirements for ArcGIS Enterprise Builder.
- Log in as a user with administrative privileges.
- Close all applications on your computer.
- Browse to the downloaded folder containing the ArcGIS Enterprise Builder setup or insert the ArcGIS Enterprise Builder media into the appropriate drive to automatically start the setup program.
You're now ready to proceed with the ArcGIS Enterprise Builder installation.
Install ArcGIS Enterprise Builder
When you have prepared the software, the builder is ready to run.
The setup program should start automatically after the download has completed. If the setup program does not start automatically, browse to the location of the downloaded setup files and double-click Builder.exe. If your machine does not meet the system requirements, the setup program will notify you.
During the installation, read the master agreement and accept it, or exit if you do not agree with the terms.
Provide the installation location for ArcGIS Enterprise Builder. The default location is C:\Program Files\ArcGIS. All components of ArcGIS Enterprise will be installed to subdirectories at this location. Portal for ArcGIS and Portal for ArcGIS Web Styles will be installed to \ArcGIS\Portal, ArcGIS Server will be installed to \ArcGIS\Server, and ArcGIS Data Store will be installed to \ArcGIS\DataStore.
Portal for ArcGIS database services use a directory to store user-generated content, as well as the default content initially installed. The content will remain on the machine after ArcGIS Enterprise Builder has been uninstalled, enabling subsequent Portal for ArcGIS installations to use existing content. A content directory will also be created at this root location (such as C:\arcgis\arcgisportal.)
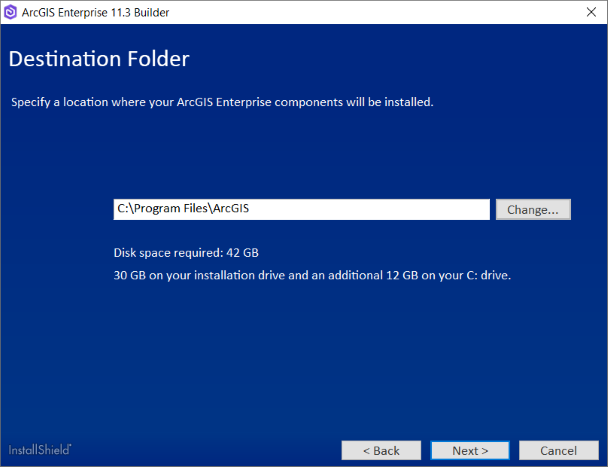
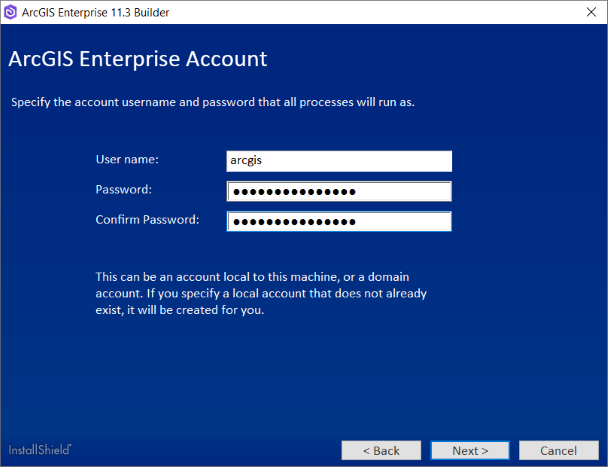
You can directly specify the account name and password to run your ArcGIS Enterprise services. The same account will be used to run all these services. The account used can be a local or domain account. The account you specify does not have to be part of the Administrators group. If you use a local operating system account, the account is created for you if it does not already exist. The default account name is arcgis.
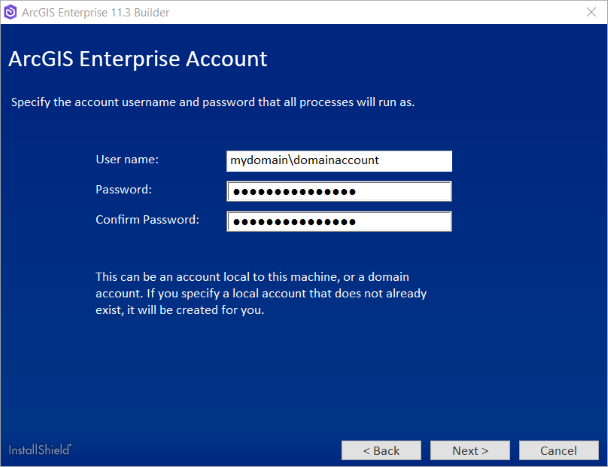
If you enter a domain account, it must already exist on the domain and must be entered using the following format:
If the account you specified already exists, the password you enter must be correct or the installation will immediately return an error indicating an incorrect password. If a domain account is specified and does not exist, the installation will immediately return an error.
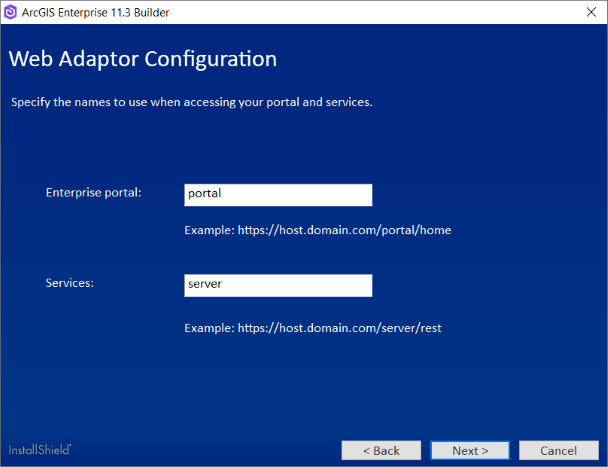
- The ArcGIS Enterprise Builder setup will create an ArcGIS Web Adaptor (IIS) for your hosting server and portal. Accept the default names for these ArcGIS Web Adaptors, or provide different ones.
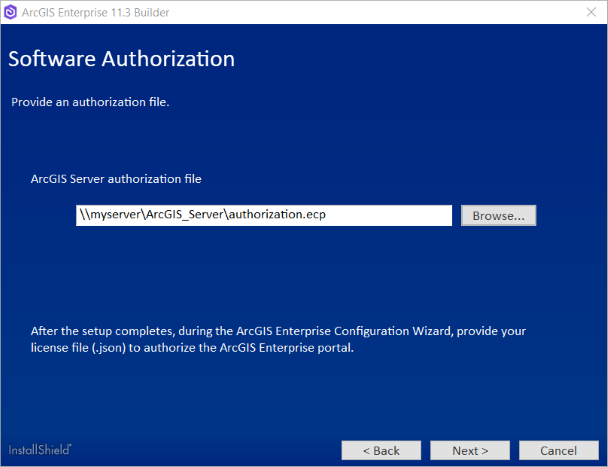
Authorize the software for use. An installation of ArcGIS Enterprise Builder requires a valid authorization file (.ecp or .prvc) for ArcGIS Server Standard or Advanced and a valid license file (.json) for Portal for ArcGIS. You need to have both of these files before installing.
Provide the location of your ArcGIS Server authorization file that you received from Customer Service. This can be an .ecp or .prvc file. See Obtain an authorization file for more information. Portal for ArcGIS will be authorized after the setup completes. During the ArcGIS Enterprise Configuration Wizard, you will provide your license file (.json) to authorize Portal for ArcGIS.
Note:
The .prvc authorization file must have all user information completed before specifying it in the setup program. Open the authorization file in a text editor, and complete the User Information section.To complete the installation, follow the directions on the screen. After the installation completes, a status dialog box is displayed. Successfully installed components are indicated with a check mark. If a component did not successfully install, see the ArcGISEntBuilder.log file located in ProgramData\ArcGISBuilder11 for more information.
- While ArcGIS Enterprise Builder is creating your deployment, it logs DEBUG messages to your local drives. These messages provide more details to work with when troubleshooting any configuration failure. From the start of the deployment until the server site is created, logs are generated in the <Install location>\Server\usr\logs folder. Once the Server site has been created, existing logs are moved and new logs are generated in the <Content directory location>\arcgisserver\server\logs\server folder. When the deployment is successful, the logging level is set to WARNING.
- After the installation completes, the post-configuration wizard automatically starts.